Black and White Painted Tile Back Splash
Along with painting our kitchen cabinets, I also painted our backsplash which was another great decision. Since we weren't in the place for a full renovation, these small (and cheap) cosmetic changes were perfect for us. I've gotten tons of questions about the process, which is seriously so easy, so I'm going to break it down for you guys step by step and hopefully it will help give you the push to do the same in your own kitchen!
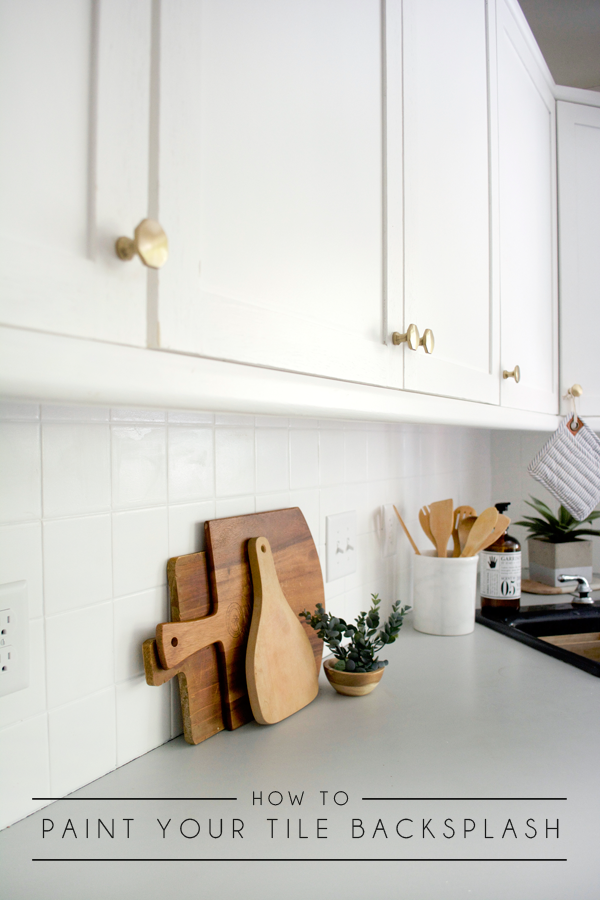
How to Paint Your Tile Backsplash
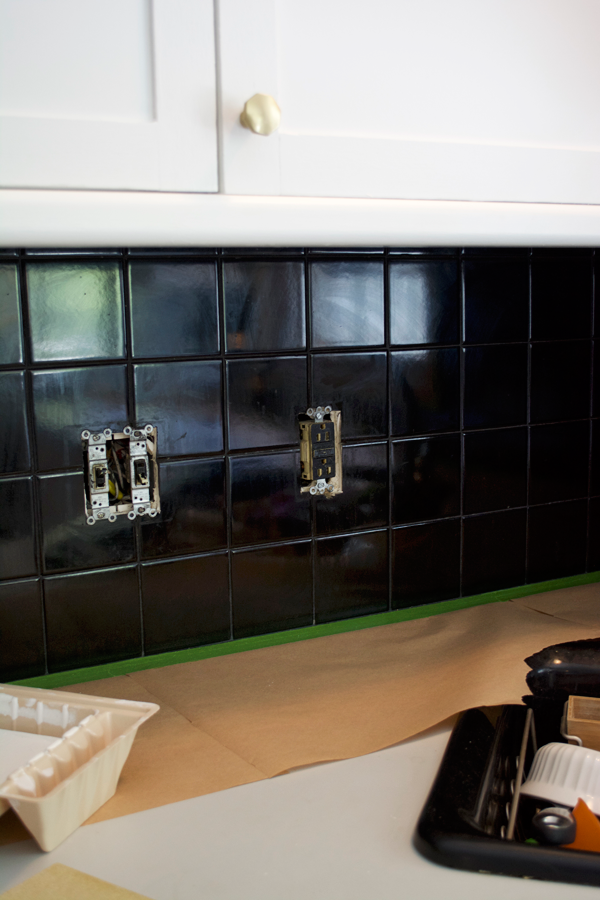
Here's a look at what our backsplash looked like:
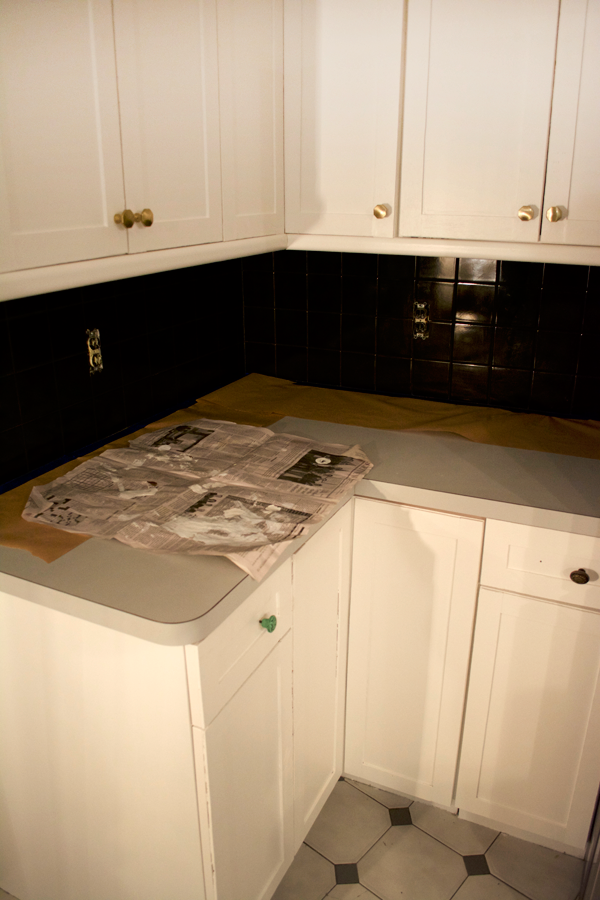
Simple and square which I'm perfectly fine with, just not the black.
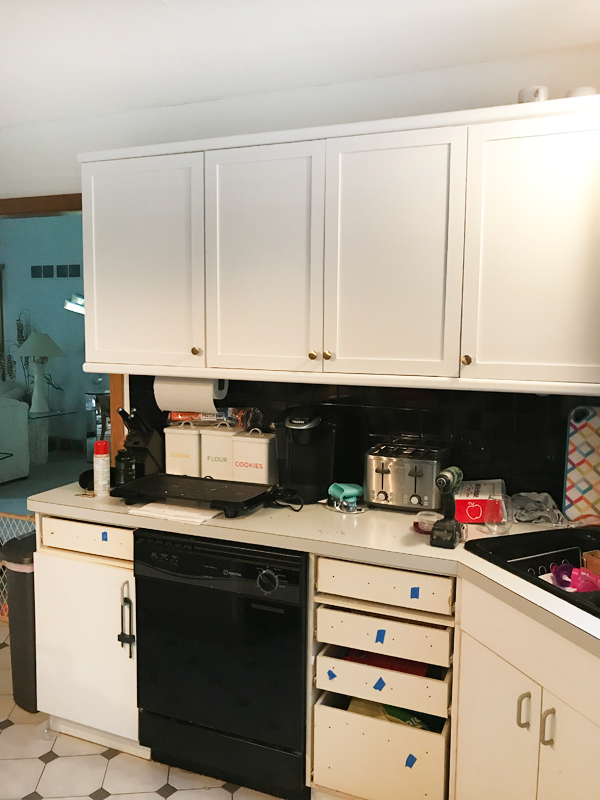
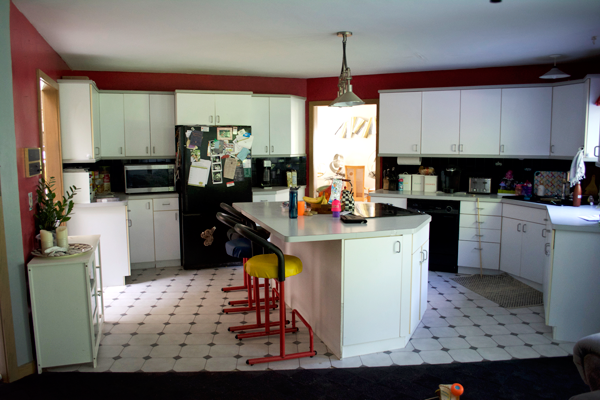
And here it is in our whole kitchen:
SUPPLIES FOR PAINTING YOUR TILE BACKSPLASH
Heavy Duty Kitchen Cleaner (any brand will do)
Sanding Block
Painters Tape
Newspaper or Painters Paper
Latex Primer
Valspar High Gloss Enamel (I had mine tinted to Valspar's Du Jour to match the cabinets)
1″ Angled Paint Brush
Small Foam Roller

STEP 1
Clean off your counters.
STEP 2
Use newspaper or a roll of painters paper and tape it down to protect your counters. I recommend using the painters tape first without the paper to get a nice close edge. Then you can stick another layer of tape to the paper and put that down overlapping your first pieces of tape.
STEP 3
Give your backsplash a good scrub to get all the dirt and grime off. I used the Fantastik Grease Cleaner pictured above as well as some clorox wipes and it did the trick.
STEP 4
Sand your backsplash. You don't have to go crazy, and if you're tile is already pretty ceramic and shiny like ours, the little sanding block isn't going to do too much. But you just want to scuff it up a bit to give the primer something to stick to.
STEP 5
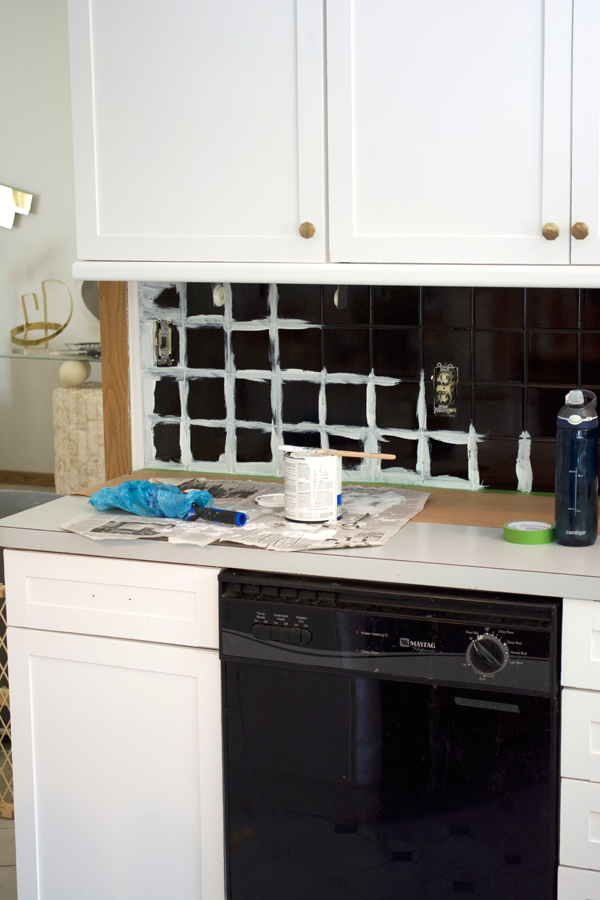
Prime! Start by using the small 1″ brush and painting in the grout lines. This will make sure you get even coverage. Then you can use your roller to go over all the tile. I just did one coat of primer.
STEP 6
Once your primer is dry – give it another quick sand with your sanding block.

STEP 7
Paint! Follow the same method you did with the primer (brush in the grout lines first and then roll). I ended up doing 3 coats of paint to make sure I had good coverage over the black.

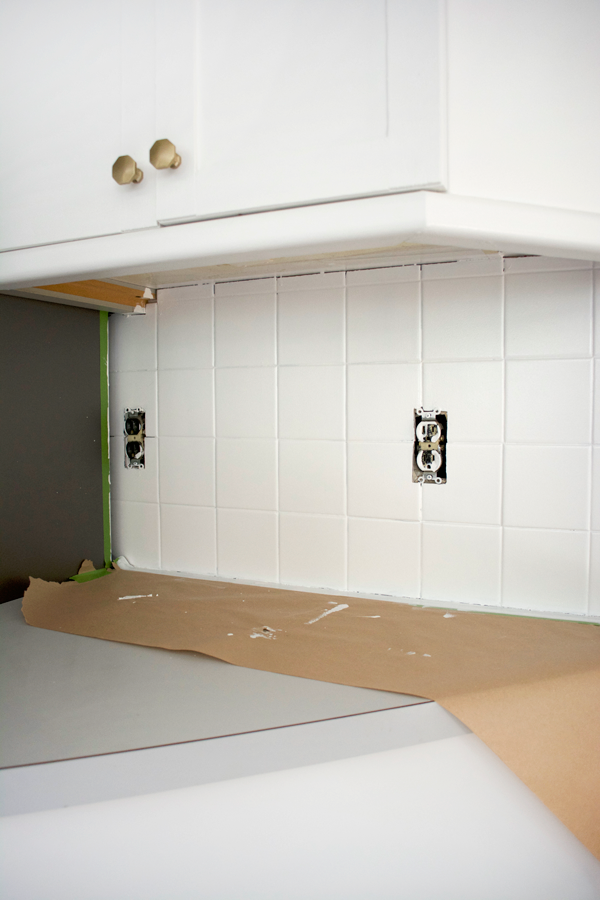
And that's all there is to it! Seriously such an easy and affordable update that makes a HUGE impact. Even just painting the cabinets and backsplash alone has brought our kitchen into the 21st century and has made the whole space so much brighter and lighter.
The only thing I ran into a little trouble with was holes in the grout. Since it was black you couldn't see them before, but once I painted, some of them were just too big to get filled in with the paint. So we used some white caulk and just went over them with that!
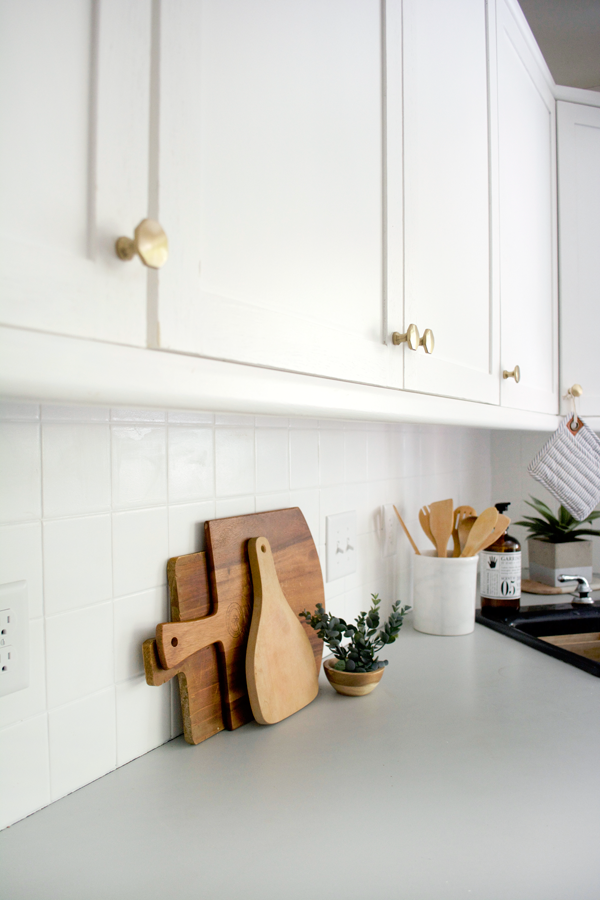
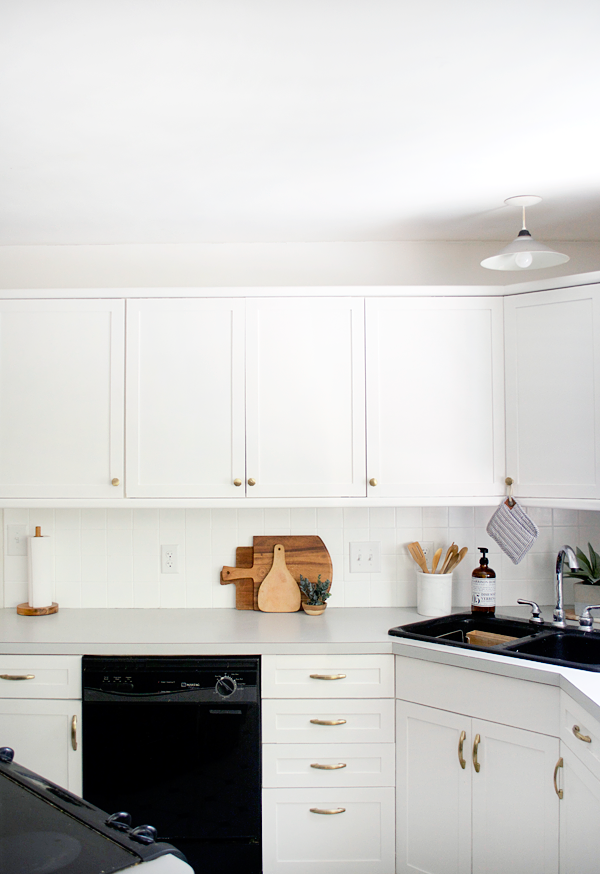
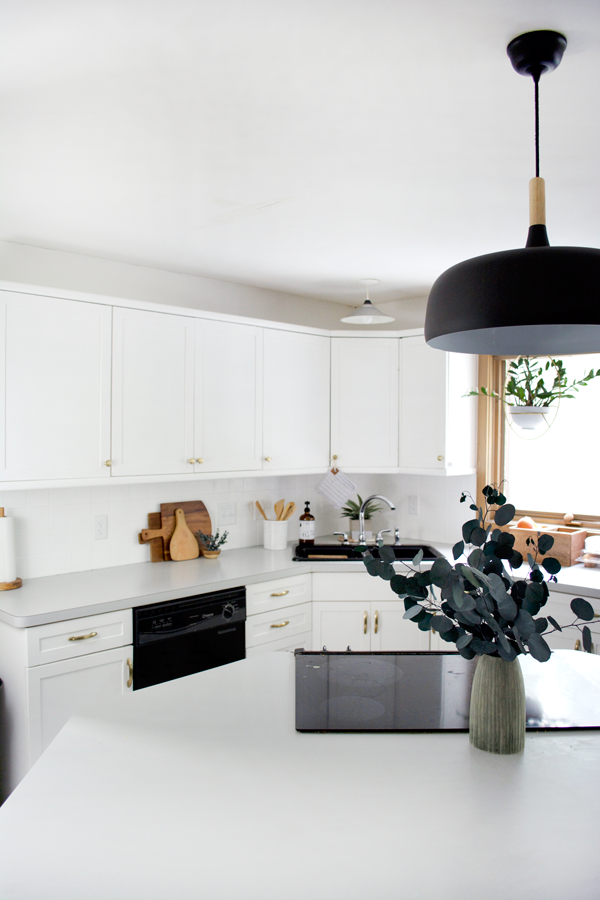
It's been over a month since I painted the tile, and I will say it's holding up awesome so far. It's super easy to clean – I usually just use a clorox wipe if it gets dirty and it takes the stains right off.
Just a few more cosmetic updates and we'll be done with this Budget Kitchen Makeover! Hope you've enjoyed following along!
And if you missed it, don't forget to check out HOW I PAINTED AND ADDED TRIM TO OUR KITCHEN CABINETS.
Black and White Painted Tile Back Splash
Source: https://brepurposed.porch.com/2017/09/21/paint-tile-backsplash/
0 Response to "Black and White Painted Tile Back Splash"
Post a Comment